Your account is on the safe side if you have enabled Facebook Protect, but if you forgot, you’ve come to the right place. In this article, we will discuss the Facebook Protect feature and how it could be enabled. So, let’s check out.
What is Facebook Protect?
In short and simple words, Facebook Protect is a security feature comprising a few security protections to prevent potential hacking attempts. The feature helps users adopt stronger security protections by simplifying security features such as two-factor authentication. Apart from the account protections, Facebook Protect also provides additional security options for Pages, including monitoring for potential hacking threats. The feature has already rolled out to all users, and users who haven’t yet enabled it will see a prompt asking to enable Facebook Protect. The Facebook protect feature was initially available to those accounts that have the potential to reach a lot more people than average Facebook users. Such accounts include those with lots of followers, run important pages, or hold some community significance. So, the Facebook Protect program is designed to defend hackers who are often motivated to attack accounts with lots of potentials.
Steps to Enable Facebook Protect
Well, if you are using a strong password, and enabled two-factor authentication, you won’t see any prompt asking you to enable the Facebook Protect feature. However, it’s still best to confirm whether the feature is enabled or not. Also, Facebook is locking out the accounts which didn’t have the Facebook Protect feature enabled. So, to be on the safe side and to protect your account, it’s best to enable the Facebook Protect feature. At the time of writing, the feature is enabled on my account. Here’s how you can enable the Facebook protect feature.
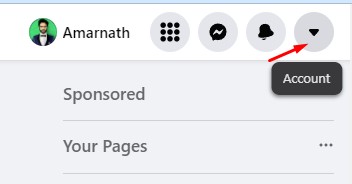
First of all, login to your Facebook account and click on the drop-down arrow.
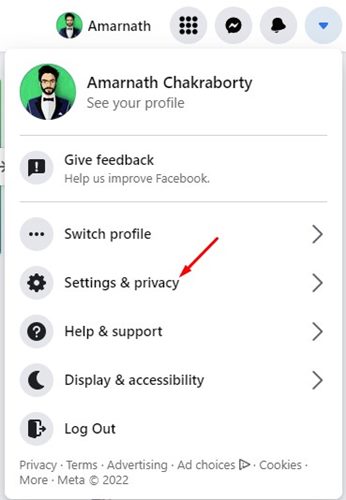
From the drop-down menu, click on the Settings & privacy option.
On the Settings & Privacy, click on the Settings.
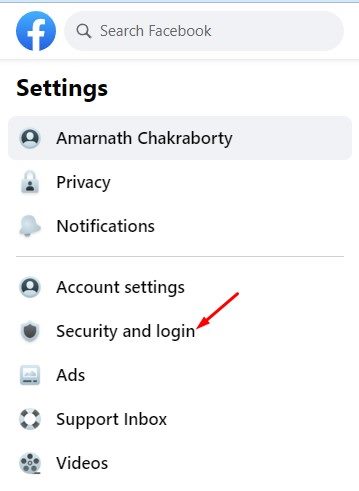
On the left pane, click on the Security and login option as shown below.
On the right, check the Facebook Protect status. If it’s turned on, you don’t need to do anything. In case if it’s not enabled, you need to click on the Get Started button.
Now, you will see the benefits of Facebook Protect. Simply, activate the security measures that Facebook asks for to enable the feature. That’s it! You are done. This is how you can enable Facebook Protect on your account. So, this guide is all about Facebook Protect and how you can turn it on. I hope this article helped you! Please share it with your friends also. If you have any doubts related to this, let us know in the comment box below.
Δ


