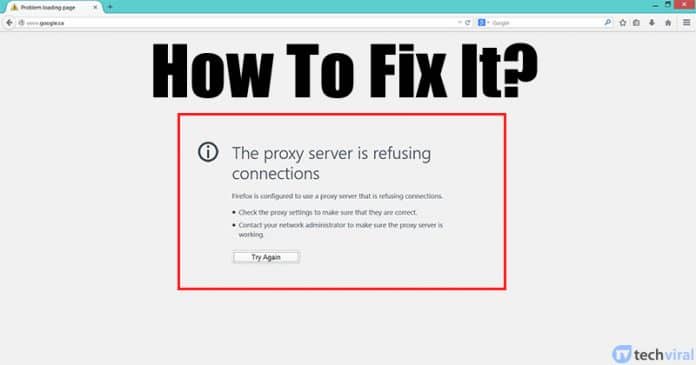
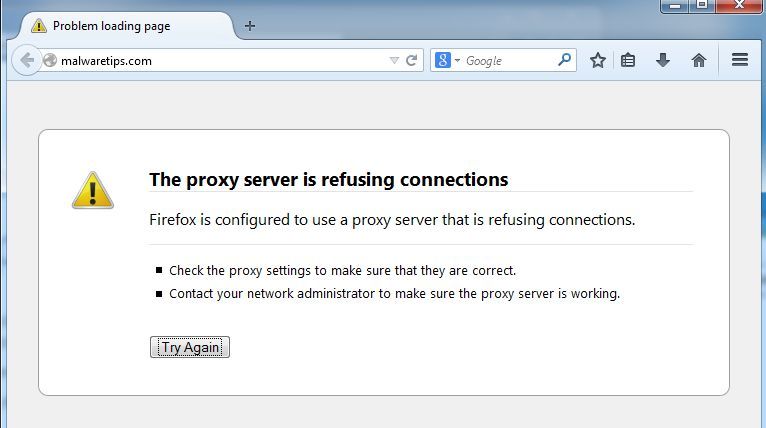
This error message is not limited to Firefox users only as it has been reported on Google Chrome as well. The error message ‘The Proxy Server is refusing the connection’ occurs every time when users try to open any website. The error message is restricting users from visiting any website. So, here in this article, we are to talk about how to fix the proxy server is refusing the connection error on Firefox and Chrome browser. But before we share the fixes, let’s know how the Proxy server works and how it affects the web browsing.
How Proxy Server Affects Web Browsing?
Well, Proxy Server is a little bit similar to the VPN apps that we use. Proxy Server acts as a middleman between the server and the computer. Let’s say you are visiting techviral, so the proxy server comes between Techviral’s server and your computer. So, in this way, Techviral’s server will receive the IP Address of the Proxy that you have used instead of your original IP Address. As we have mentioned Proxy Server is pretty much similar to the VPN because it’s mostly used to hide the identity of any user. However, there are lots of malware filled extensions or add-ons available on the web that plays with the Proxy settings. This is where the problem begins and users get errors like ‘Proxy Server is Refusing the connection’.
How To Fix The Proxy Server Is Refusing Connections?
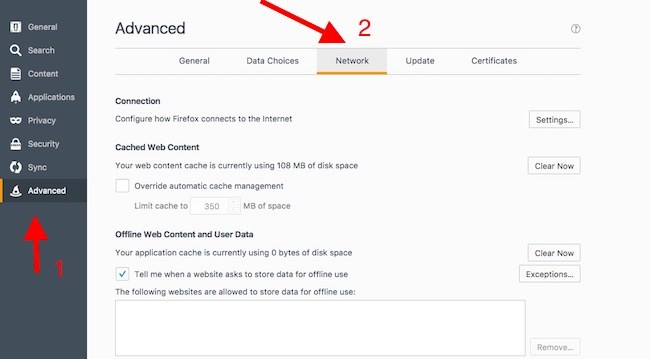
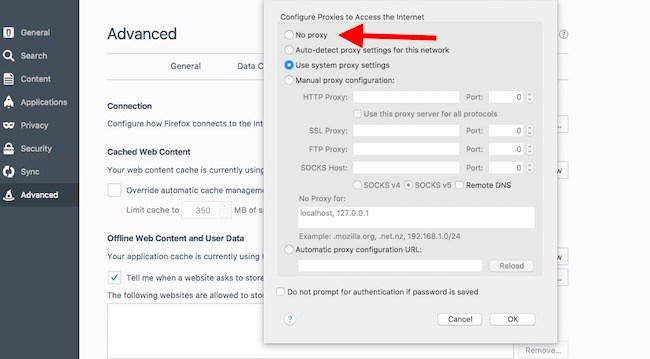
The easiest method to fix the Proxy Server is Refusing Connection error from the web browser is to reset the proxy settings. On the Firefox Browser, users get the option to reset the Proxy settings and you can do so by following the steps given below. Step 1. First of all, open your Firefox browser and then click on the three horizontal lines. Step 2. Next, select the option and it will load up another window. On the next window, select ‘Advanced’ and then select ‘Network’ Step 3. Now you will see another window. There you need to select ‘Connection’ and then click on ‘Settings’ Step 4. Under the Connection Settings, select ‘No Proxy’ and click on ‘OK’ That’s it, you are done! This is how you can reset the proxy settings of Firefox Browser. If you have any other doubts, discuss it with us in the comments.
Check PC Lan Proxy Settings
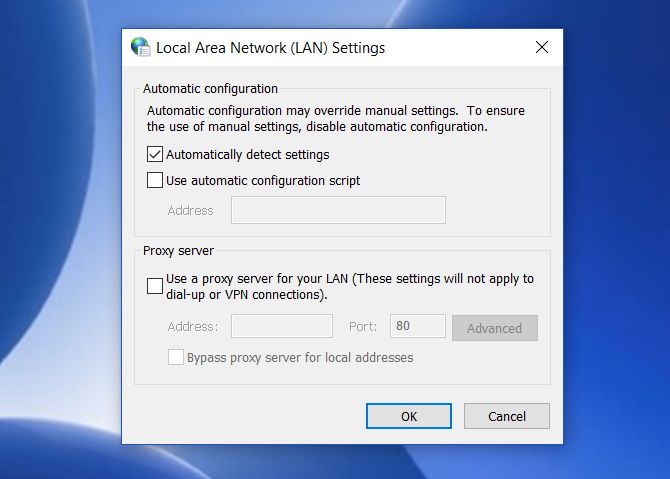
Well, some ISP does require the use of a proxy server. So, if the above method failed to fix the ‘Proxy server refusing connection error message’, then you need to check whether the proxy settings of your computer has been changed. Few software and VPNs often change the proxy settings of your PC leading to such errors. Simply open the Start menu and search for Configure Proxy Server. Open it and click on the Connection tab’. If your ISP doesn’t require the use of a proxy server, then the settings will be set to ‘Automatically detect settings’. However, if your ISP requires a proxy server to work, then there will be two option – Use automatic configuration script, Use a proxy server for your LAN. If your ISP uses the automatic proxy configuration, then the address field behind the ‘automatic configuration script’ will be filled in. You just need to check that checkbox to fix the error message
Using AdwCleaner
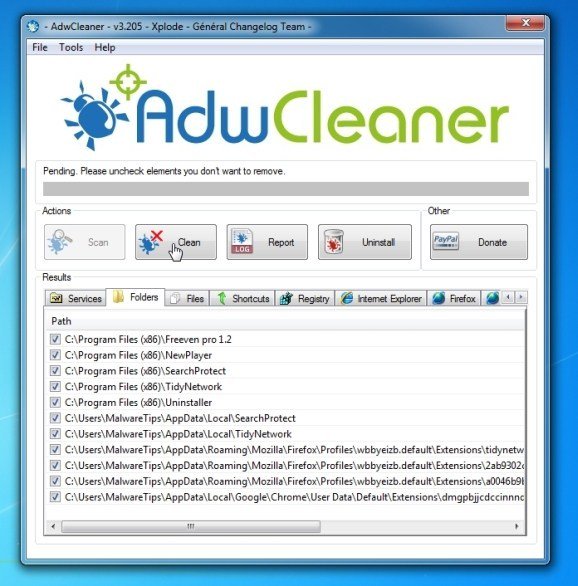
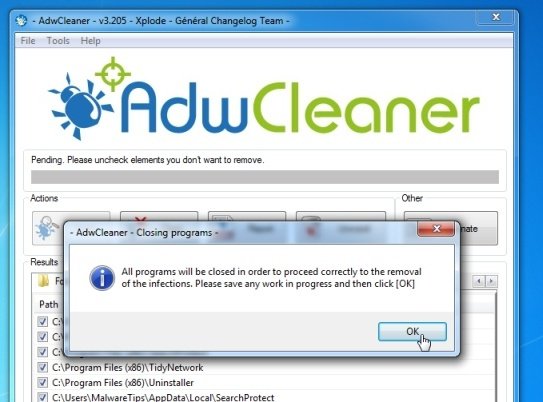
As we have mentioned early in the post, the error message occurs because of malicious extensions and add-ons. Have you recently installed any bypass tool? Or any Coupon Saver? Well, if you are unable to figure out the exact extension or add-on, then you can try AdwCleaner. AdwCleaner effectively scans and removes PUPs and adware from your computer. It can clean your web browsers as well. So, here’s how you can use AdwCleaner to solve Proxy Server Refusing Connections. Step 1. First of all, download AdwCleaner from the link given below. It’s a mini tool and it just needs less than 20 MB to install on your computer. Step 2. Once installed, open AdwCleaner and click on the ‘Scan’ button. Step 3. Now, wait until AdwCleaner completes the scan. If your web browser is infected with adware of PUPs, then the tool will list it down. Simply click on the ‘Clean’ button to remove the infected files. Step 4. Once done, AdwCleaner will ask you to save any open files. It will then restart your computer. That’s it, you are done! This is how you can fix Proxy Server Refusing Connections by using AdwCleaner.
Reset Network Settings
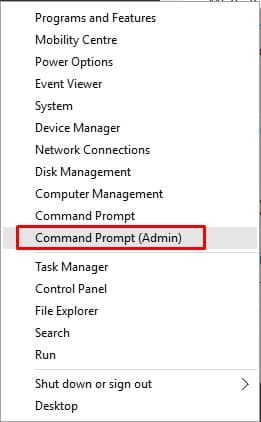
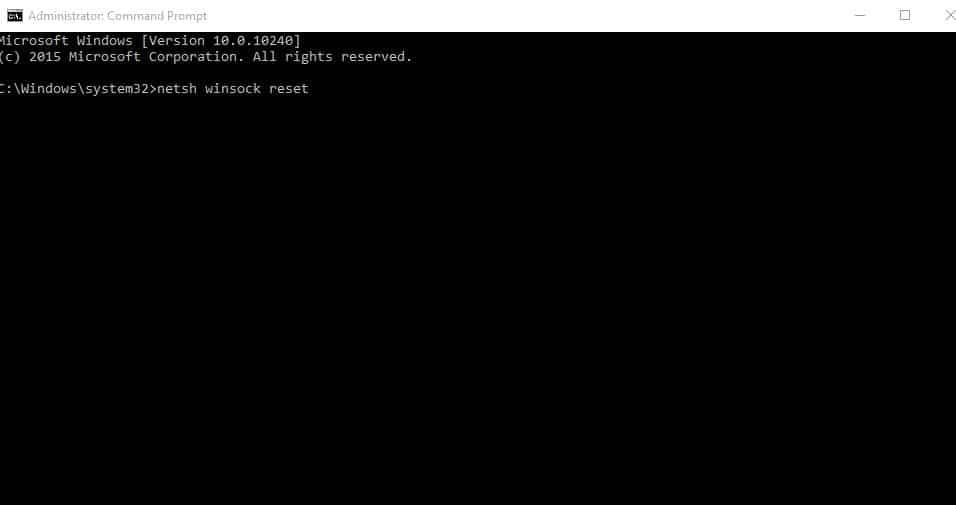
Well, if all of the above-mentioned methods failed to fix the ‘Proxy server refusing connections’ error message, then you need to reset the entire network settings of Windows 10 computer. If there’s a problem with the network settings, then no browser will be able to connect to the internet. Follow some of the simple steps given below to reset Network settings on Windows 10. Step 1. First of all, right-click on the Windows button and select ‘Command Prompt (Admin)’ Step 2. This will open the Command Prompt Window. Step 3. On the command prompt window, you need to enter the following commands – netsh int ip reset netsh winsock reset netsh winhttp reset proxy Once done, restart the PC. After the restart, open the web browser and visit the sites. You won’t get the error anymore. So, this is how you can fix Proxy Server Refusing Connections from different web browsers. If it’s not fixed, then the final option is to reinstall the web browser. If you have any other doubts, then make sure to discuss it with us in the comment box below.
Δ
